
The Sump Pump "Spring Training" Checklist
In Chicago, spring training isn't just for the Cubs and the White Sox. While the pros are down in the sunshine working on their swing, your home’s most valuable player, the sump pump, needs to be getting ready for its own high-stakes season.
April showers bring May flowers, but they also bring a lot of hydrostatic pressure against your foundation. If your sump pump has been riding the bench all winter, it might be a little "rusty" when the first major thunderstorm hits. To keep your basement from becoming a dugout, follow this 5-step spring training checklist.
1. The Visual Scout: Clear the Basin
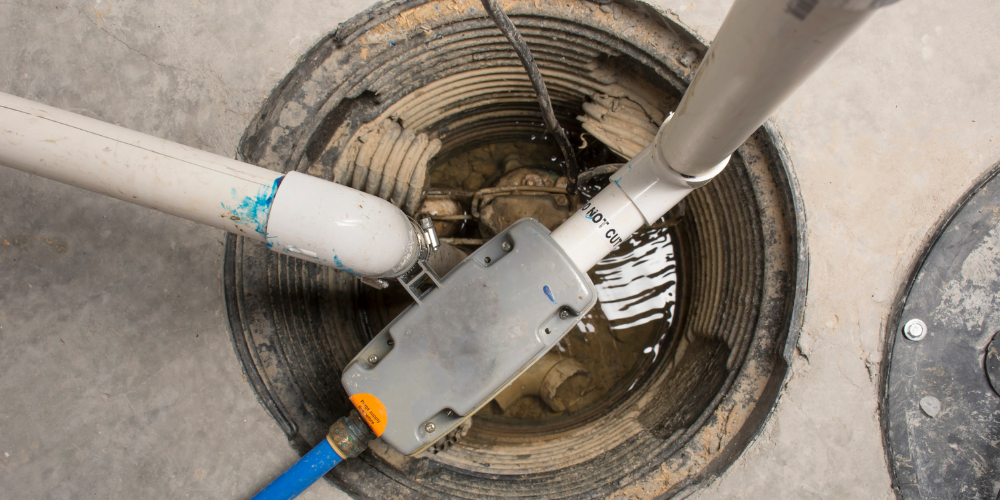
Before you start the engine, you need to check the field. Peek inside your sump pit (the basin where the pump sits). Over the winter, it’s common for debris, silt, or even small toys to find their way into the pit.
Check the float switch—that’s the part that looks like a buoy. It needs to move up and down freely. If a stray pebble or a layer of grime is pinning it down, your pump won't know when it's time to start working.
2. The "Gulp" Test: Simulate a Storm
You wouldn’t start a game without a warm-up, and your pump shouldn't either. The best way to test your pump is to simulate a heavy rain.
Take a five-gallon bucket of water and slowly pour it into the basin. Watch closely:
Does the float rise smoothly?
Does the pump "kick in" immediately?
Does the water level drop quickly?
If the motor hums but the water level doesn't move, you might have a clogged intake or a failed impeller. If it doesn't hum at all, you’ve got a power or motor issue.
3. The Power Play: Inspect Your Connections
Sump pumps live in damp, dark environments—the exact opposite of where electrical equipment wants to be.
Check the Cord: Ensure the power cord isn't frayed or submerged in water.
The GFCI Test: Your pump should be plugged into a GFCI outlet. Press the "test" and "reset" buttons to ensure the outlet is actually providing power.
The Battery Backup: In Chicago, big storms often come with power outages. If you have a battery backup system, check the status lights. If the battery is more than three years old, it might be time for a fresh "rookie" to take its place.
4. The Discharge Run: Check the Exit Point
The pump can work perfectly, but if the water has nowhere to go, it's going right back into your basement. Head outside and find your discharge pipe (where the water exits the house).
Make sure the end of the pipe isn't buried under leftover winter mulch, dead leaves, or a lingering snow pile. Most importantly, ensure the water is being discharged at least 10 feet away from your foundation. If the water pools right next to the house, it will just soak back down and force your pump to work in a never-ending loop.
5. Listen for the "Clunk"
When your pump finishes its cycle and shuts off, you should hear a firm "clunk." This is your check valve doing its job. This one-way valve prevents the water remaining in the vertical pipe from falling back into the pit once the pump stops. If you don't hear it, or if your pump immediately turns back on after stopping, your check valve might be worn out.
Don't Get Caught Looking
In the world of plumbing, the best defense is a good offense. Don't wait for a 2:00 AM cloudburst to find out your pump is on the "Injured List." A little spring training today can save you from a major cleanup tomorrow.
If your pump failed the "Gulp Test," or if you want a professional scout to give your basement a full pre-season inspection, we’re ready to play.
Contact Angel Sewer & Plumbing today to ensure your home stays dry all season long!